Setup & Prerequisites
Complete these steps before the first day (Mon Jul 20). Estimated time: 30–45 min. If you hit a blocker, use the cloud VM — everything in this workshop runs there too.
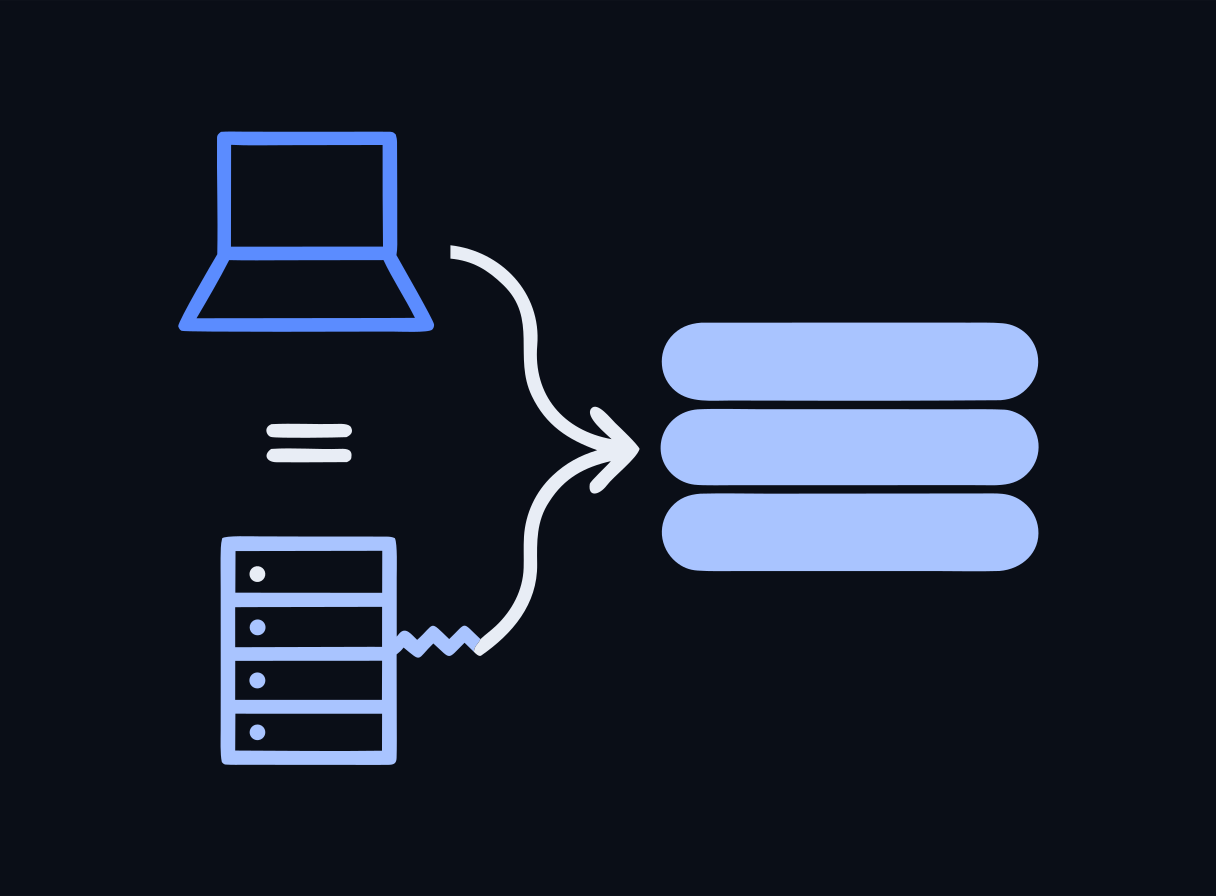
The local Docker labs run comfortably on 16 GB RAM. If your machine has only 8 GB, skip the local Docker setup and use the cloud VM instead (see §4 below). You will still participate in every lab; the cloud VM is a fully equivalent path.
There are also GUI versions of the labs that run in a desktop app with no Docker at all.
How to check: macOS: Apple menu → About This Mac → Memory. Windows: Task Manager → Performance → Memory. Linux: free -h or cat /proc/meminfo | grep MemTotal.
1 Docker Desktop
All workshop labs are packaged as Docker Compose stacks. You need Docker Desktop (or Docker Engine on Linux) installed and running before Day 1.
- Download Docker Desktop from docker.com/products/docker-desktop(macOS, Windows, or Linux).
- Install and launch it. Accept the license agreement.
- Open a terminal and verify:
docker version # should show Client + Server blocks docker compose version # should show v2.x - Run a quick smoke test:
You should see "Hello from Docker!". If you get a daemon error, make sure Docker Desktop is running (tray icon / menu bar).docker run --rm hello-world
docker group and re-login.2 SSH Client
You will SSH into the cloud lab VM each day. Verify your SSH client works before the workshop.
- macOS / Linux: OpenSSH is built in. Open a terminal and run
ssh -V. - Windows: OpenSSH is included in Windows 10 1809+ and Windows 11. Open PowerShell or Command Prompt and run
ssh -V. If the command isn't found, enable it via Settings → Optional Features → OpenSSH Client. Alternatively, install PuTTY.
ssh -V # OpenSSH_9.x or similar3 Git (optional but recommended)
Lab bundles are available as tarballs (no git required), but having git lets you clone the repo and stay in sync with any day-of corrections.
git --version # git version 2.xIf not installed: git-scm.com/downloads.
4 Cloud VM Access Verification
Cloud lab VMs are available as a fallback if your local Docker setup isn't working or if you have ≤ 8 GB RAM. Local Docker is the primary path; the VM is a fully equivalent alternative. Your instructor hands out VM credentials — an IP address and a password — individually at the start of the session.
Once you have your credentials:
- Open a terminal and connect:
Accept the host key fingerprint on first connect, then enter the password from your row. The message shown at login lists the exact command for every Day-1 lab.ssh workshop@<your-vm-ip> - Inside the VM, confirm Docker is running:
docker version docker compose version - Check available disk space (labs need ~20 GB free):
df -h / - Exit the VM:
exit
5 Access Code (for the exam)
On Day 5 you'll take a graded SecAI+ blueprint exam on this site. An access code (SECAI-XXXX) is your exam identity — no account or password required. Codes are distributed at the start of the workshop alongside your VM credentials. Keep it somewhere safe; you get one retake.